Wanna see something cool? Check out Angular Spotify 🎧
Fast terminal navigation for running multiple AI agents in Antigravity
I have been using Claude Code extensively for the past few months. It changed how I work. Most of my coding now happens in the terminal, not in the editor. I write a prompt, Claude does the work, I review the diff. Repeat.
Cursor is great, but it is built around the idea that AI lives inside the editor. Claude Code flips that. The terminal is the interface. Once I accepted that, I realized I needed a code editor that treats the terminal as a first-class citizen.
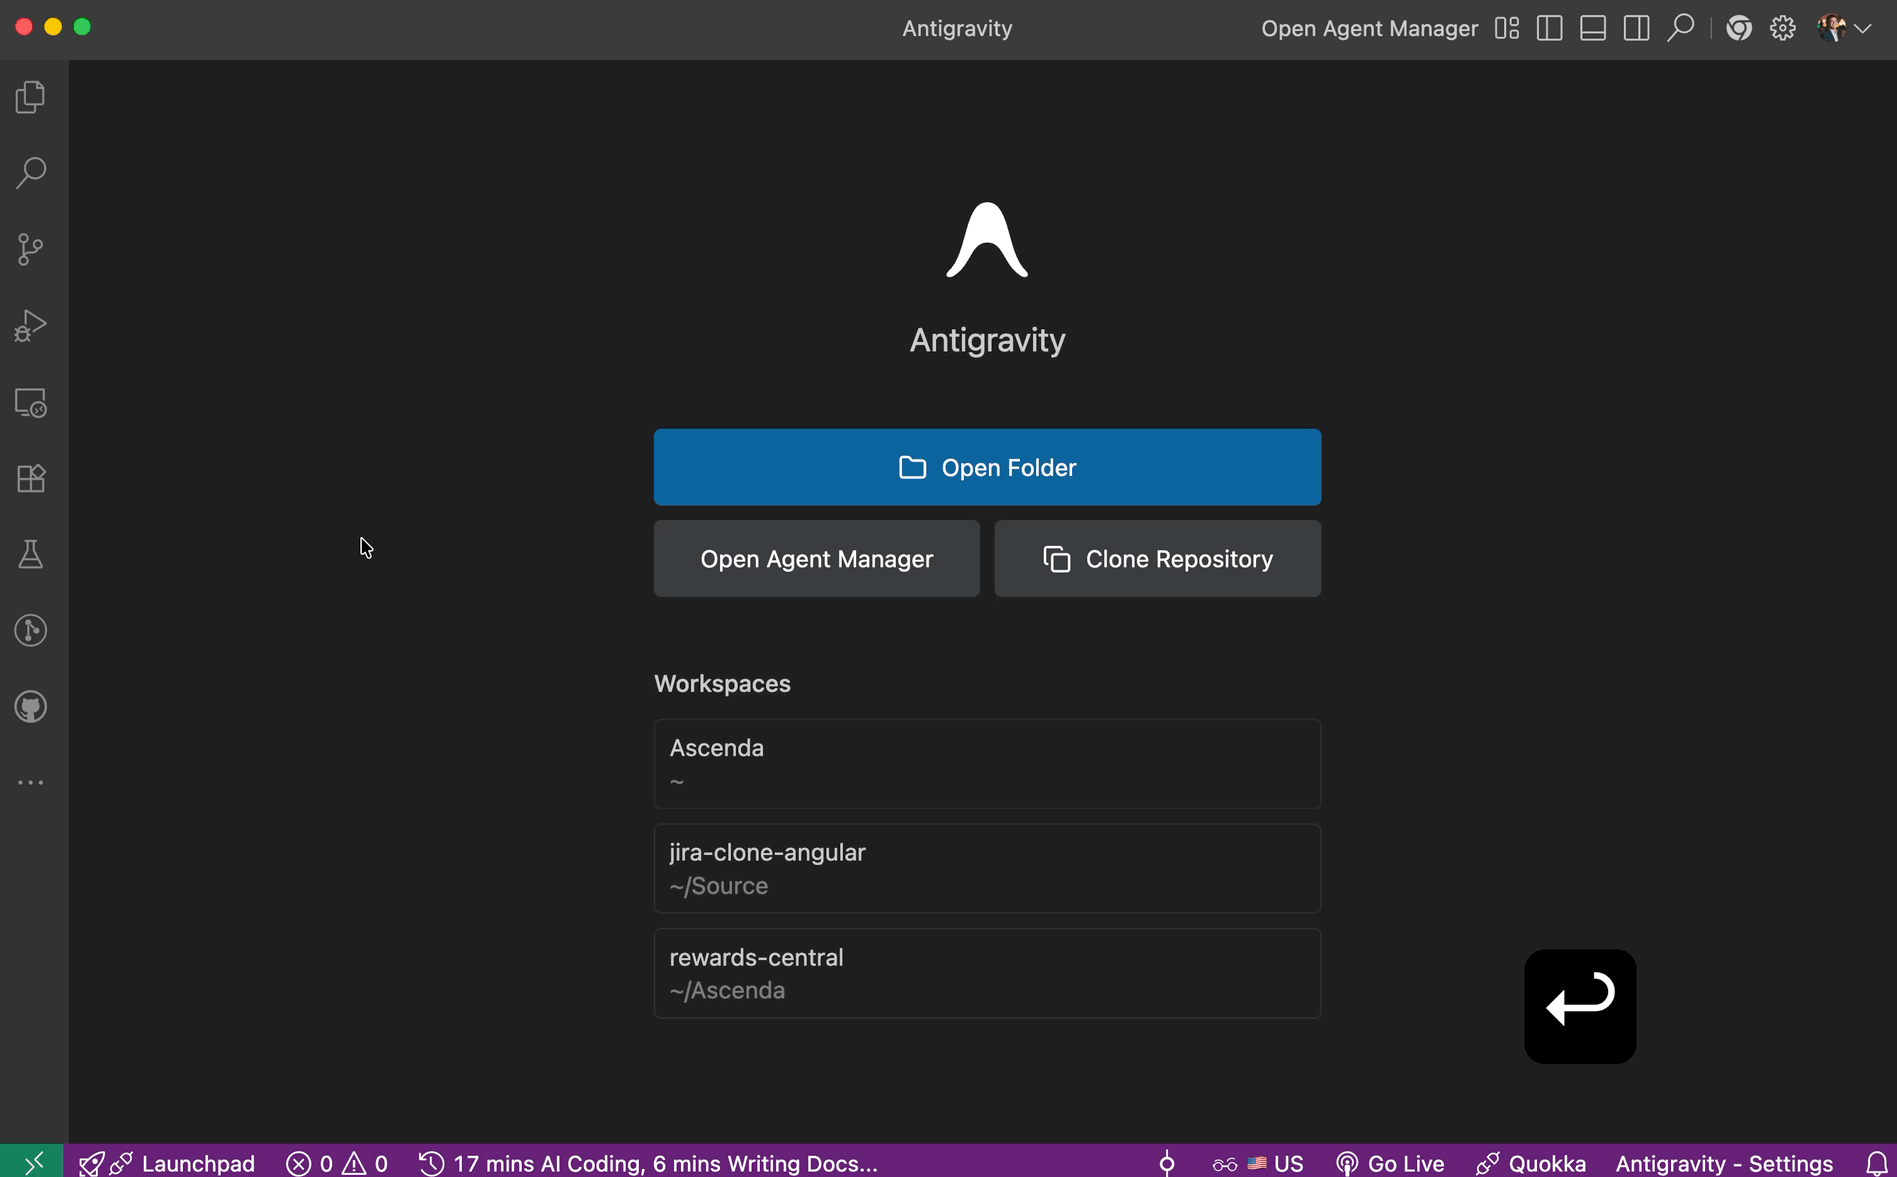
That is when I switched to Antigravity.
Why Antigravity
Since I am using Claude Code for almost everything now, I do not need most of what Cursor offers. The tab completion with code suggestions? I do not use it. The inline prompt to generate code? I do not use that either. Everything goes through Claude Code in the terminal.
So I asked myself, why am I paying for Cursor when I am not using any of its features?
I wanted to switch back to something free, like VS Code. Then I found Antigravity. It is a good mix of what VS Code already does well, plus some promising features like Agent Manager. And it is free.

Terminal navigation keybindings
Here is the thing. If you are running multiple Claude Code sessions, or running your dev server in one tab and Claude in another, you need to switch between them quickly. Fumbling with the mouse to click on the right terminal tab breaks the flow.
You could use iTerm separately from your IDE. It comes with fantastic shortcuts out of the box. But I prefer the integrated terminal within my IDE because I still need to open files and review diffs generated by Claude. Yes, I still review them.
In the past, I usually had 2 or 3 terminals running at most. One for the API server, one for the frontend, and that was about it. No real need to navigate between them. But with Claude Code, I now have 4 to 5 terminals open at the same time. Fast navigation became a must.
So I spent about an hour setting up these keybindings, and it made a huge difference. You can copy and paste this into your keybindings JSON file.

Here is the full keybindings config:
{
  "key": "cmd+n",
  "command": "workbench.action.terminal.new",
  "when": "terminalFocus"
},
{
  "key": "cmd+w",
  "command": "workbench.action.terminal.kill",
  "when": "terminalFocus"
},
{
  "key": "alt+cmd+down",
  "command": "workbench.action.terminal.focusNext",
  "when": "terminalFocus && terminalHasBeenCreated && !terminalEditorFocus || terminalFocus && terminalProcessSupported && !terminalEditorFocus"
},
{
  "key": "alt+cmd+up",
  "command": "workbench.action.terminal.focusPrevious",
  "when": "terminalFocus"
},
{
  "key": "alt+cmd+right",
  "command": "workbench.action.terminal.focusNextPane",
  "when": "terminalFocus && terminalHasBeenCreated || terminalFocus && terminalProcessSupported"
},
{
  "key": "alt+cmd+left",
  "command": "workbench.action.terminal.focusPreviousPane",
  "when": "terminalFocus && terminalHasBeenCreated || terminalFocus && terminalProcessSupported"
},
{
  "key": "shift+cmd+enter",
  "command": "workbench.action.toggleMaximizedPanel",
  "when": "terminalFocus"
},
{
  "key": "shift+cmd+=",
  "command": "workbench.action.increaseViewSize",
  "when": "terminalFocus"
},
{
  "key": "shift+cmd+-",
  "command": "workbench.action.decreaseViewSize",
  "when": "terminalFocus"
}
A quick breakdown:
| Shortcut | What it does |
|---|---|
⌘ N |
New terminal tab |
⌘ W |
Close terminal tab |
⌥ ⌘ Down |
Focus next terminal tab |
⌥ ⌘ Up |
Focus previous terminal tab |
⌥ ⌘ Right |
Focus next pane (split window) |
⌥ ⌘ Left |
Focus previous pane (split window) |
⇧ ⌘ Enter |
Toggle maximize terminal panel |
⇧ ⌘ = |
Increase terminal size |
⇧ ⌘ - |
Decrease terminal size |
The idea is simple.
1. Focus into the terminal
⌘ J toggles the terminal panel. ⌃ ` opens a new terminal if none exists, or focuses into the existing one. These are default keybindings, no extra configuration needed.

2. Open and close terminal tabs
⌘ N creates a new terminal tab and ⌘ W closes the current one, just like managing tabs in a browser.
Note that the terminal must be focused for these to work. Otherwise, ⌘ W will close the editor tab, or Antigravity itself if no tab is open.
3. Navigate between tabs
⌥ ⌘ Up/Down moves between terminal tabs. The tabs are arranged vertically in the UI, so up and down feels natural to remember.
4. Navigate between panes within a tab
⌥ ⌘ Left/Right moves between split panes within a single tab. Useful when you have Claude Code running on one side and your dev server on the other.
5. Resize and maximize
⇧ ⌘ Enter toggles the terminal panel to full screen. ⇧ ⌘ = and ⇧ ⌘ - increase and decrease the terminal size.

Once your fingers learn these shortcuts, navigating between multiple terminal sessions becomes second nature. When your workflow is terminal-first with Claude Code, that speed matters.
Published 20 Mar 2026