Wanna see something cool? Check out Angular Spotify 🎧
Capture picture from your Webcam in Angular
Use case
If you trade crypto often, you will notice that their verification process involves a step to upload a photo of you with your identity card. Or you can capture it via webcam. Refer to the below picture taken from Binance.

After selecting the Take Photo option, it will ask for your permission to use the webcam. If you allow, then you can start to take a photo with your webcam.
Output
We will build something similar to the output below.

Web API MediaDevices
The MediaDevices interface provides access to connected media input devices like cameras and microphones and screen sharing. In essence, it lets you obtain access to any hardware source of media data.
We will utilize the MediaDevices for accessing the webcam. Some methods worth mentioning:
navigator.mediaDevices.enumerateDevices(): requests a list of the available media input and output devices, such as microphones, cameras, headsets, and so forth.getUserMedia(): with the user’s permission through a prompt, turns on a camera and/or a microphone on the system
It will ask for your permission, similar to the below photo.

WebcamSnapshotModule
I started by creating a new fresh:
WebcamSnapshotComponentWebcamSnapshotModule
SCAMs (single component Angular modules) are Angular modules scoped to a single declarable, and you should follow that to create reusable pieces for your application.
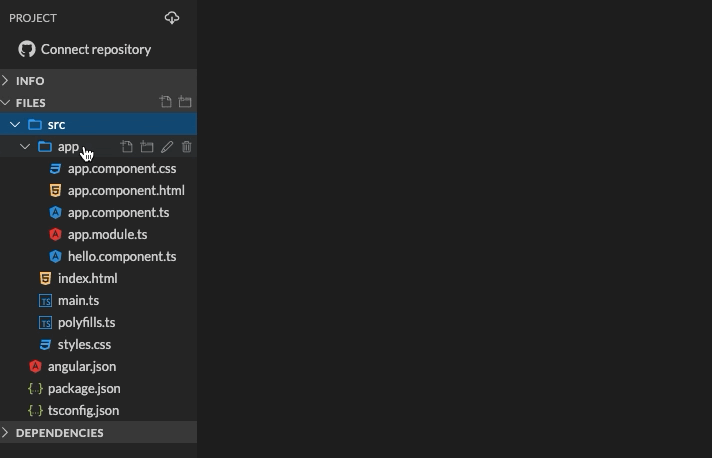
Refer to the below step how to do it on stackblitz
One additional step I need to do it to export WebcamSnapshotComponent on the WebcamSnapshotModule
@NgModule({
  imports: [CommonModule],
  declarations: [WebcamSnapshotComponent],
  exports: [WebcamSnapshotComponent],
})
export class WebcamSnapshotModule {}
WebcamSnapshotComponent
Now we have the component and module ready. Let go ahead and write the actual code for accessing the webcam.
webcam-snapshot.component.html
Open webcam-snapshot.component.html and put in the code.
<div class="video-container">
  <video
    [class.show]="!isCaptured"
    [class.hide]="isCaptured"
    #video
    id="video"
    [width]="WIDTH"
    [height]="HEIGHT"
    autoplay
  ></video>
  <canvas
    [class.show]="isCaptured"
    [class.hide]="!isCaptured"
    #canvas
    id="canvas"
    [width]="WIDTH"
    [height]="HEIGHT"
  ></canvas>
</div>

<div class="snap-container">
  <button class="btn btn-primary" *ngIf="!isCaptured" (click)="capture()">
    Snap Photo
  </button>
</div>
I have a video tag for displaying the webcam stream. Also, a canvas to render the image after taking the photo with a button name Snap Photo. Please be noted that both video and canvas have the template reference by using # to access it using ViewChild.
webcam-snapshot.component.ts
Now let look at the code that does the heavy lifting part.
export class WebcamSnapshotComponent implements AfterViewInit {
  WIDTH = 640;
  HEIGHT = 480;

  @ViewChild("video")
  public video: ElementRef;

  @ViewChild("canvas")
  public canvas: ElementRef;

  captures: string[] = [];
  error: any;
  isCaptured: boolean;

  async ngAfterViewInit() {
    await this.setupDevices();
  }

  async setupDevices() {
    if (navigator.mediaDevices && navigator.mediaDevices.getUserMedia) {
      try {
        const stream = await navigator.mediaDevices.getUserMedia({
          video: true
        });
        if (stream) {
          this.video.nativeElement.srcObject = stream;
          this.video.nativeElement.play();
          this.error = null;
        } else {
          this.error = "You have no output video device";
        }
      } catch (e) {
        this.error = e;
      }
    }
  }

  capture() {
    this.drawImageToCanvas(this.video.nativeElement);
    this.captures.push(this.canvas.nativeElement.toDataURL("image/png"));
    this.isCaptured = true;
  }

  drawImageToCanvas(image: any) {
    this.canvas.nativeElement
      .getContext("2d")
      .drawImage(image, 0, 0, this.WIDTH, this.HEIGHT);
  }
}
I have:
WIDTHandHEIGHTconst for the webcam and canvas sizevideoandcanvasrefer to the template using the template reference. By default, you can only access them after the view has been init usingngAfterViewInit. That’s why I implementAfterViewInitinterface instead ofOnInithook. See more about thatsetupDevicesis where I start to ask for permission using video.getUserMediareturn a Promise. That’s why I am using async/await. You could still usethenif you are comfortable with that. Noted that the returnedstreamcould be null if your device has no video output device.captureis to take the current video screenshot and draw it into our canvas usingdrawImageToCanvas. At the same time, I also push the data into thecapturesarray. It is just base64 encoded image data. You could use that for uploading to the server if required.

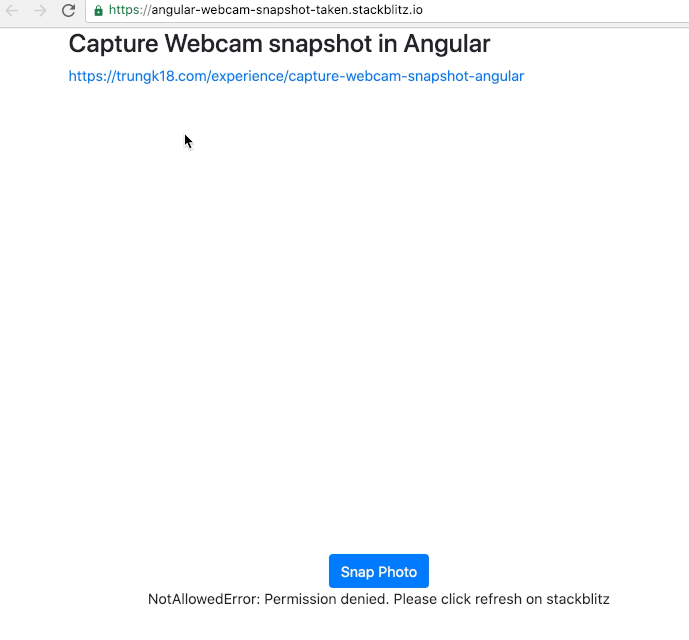
Source code and demo
Please open this stackblitz in a new window for testing. If it is not working, try click Refresh on stackblitz.
It happens to me as well :(
Conclusion
You just saw how to use Angular to capture images from the webcam using a web browser. You can always use a library for that purpose. But it is essential to understand how things work under the hood :)
Reference
Published 16 Jan 2021